CDL Parallel Parking in 2026: Sight-Side, Blind-Side, Setup, and GOAL
Learn a safe, repeatable approach to CDL parallel parking, including sight-side and blind-side differences, mirror use, GOAL, small corrections, and test-day preparation.
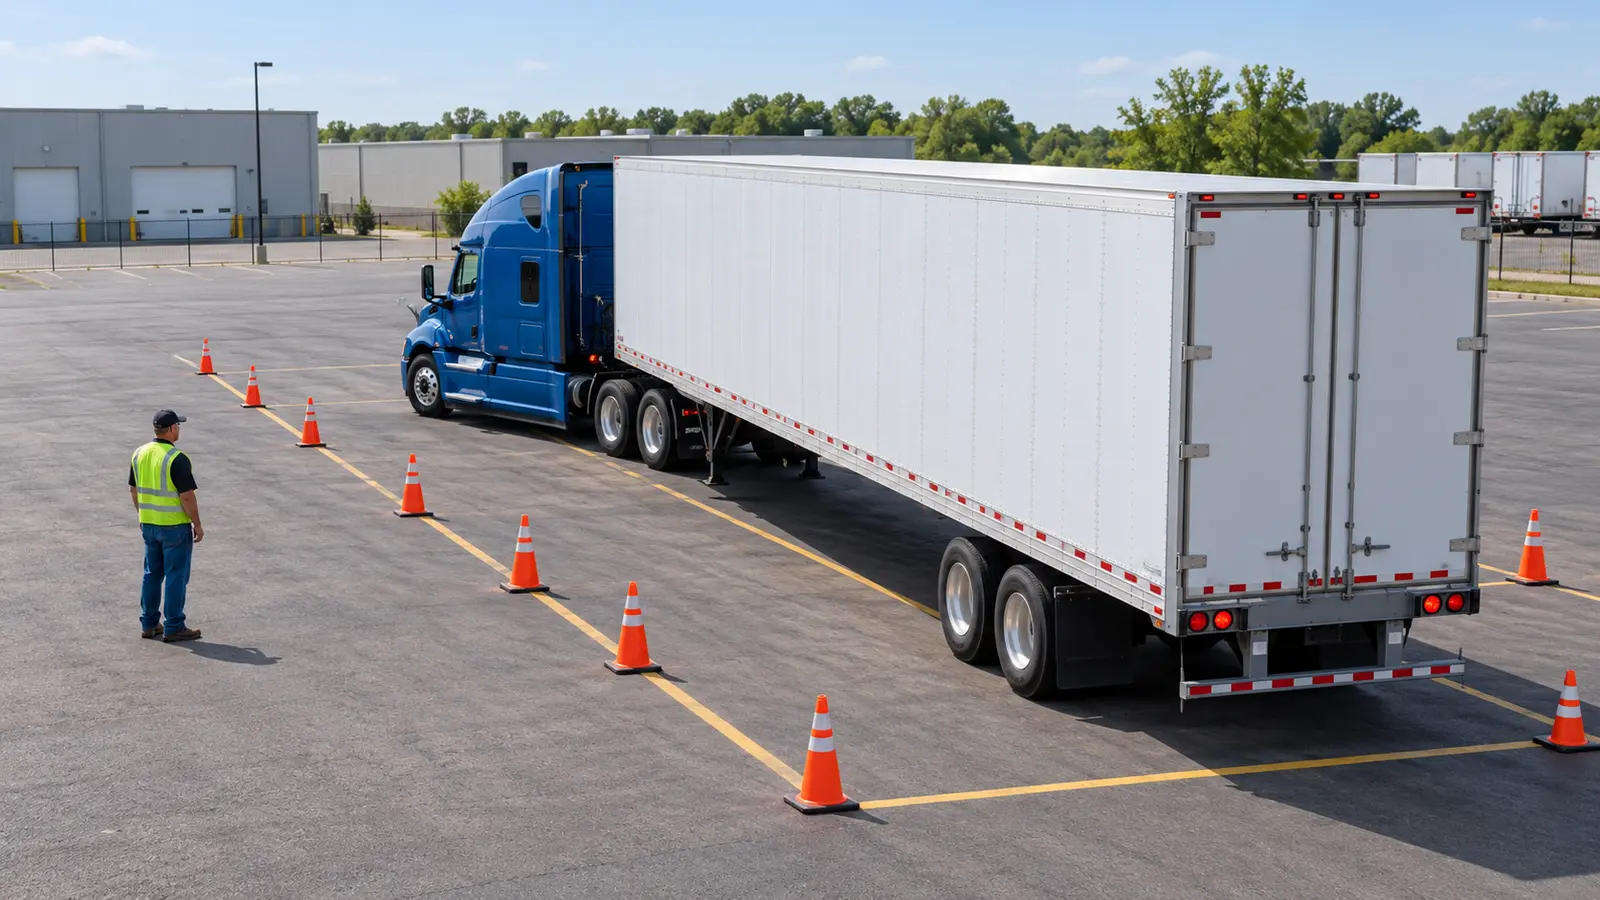
Parallel parking a commercial vehicle is about managing position, angle, clearance, and changing blind areas. It combines a precise setup with slow movement, disciplined mirror use, timely steering recovery, and a willingness to stop and verify what the mirrors cannot show.
Both Class A and Class B ELDT curricula require behind-the-wheel proficiency in sight-side and blind-side parallel parking. Federal CDL skills standards also require control while backing along a curved path. Prepare with a repeatable process that transfers from a cone course to a delivery site without pretending every vehicle or test layout behaves the same.
Know what the federal rules require
Appendices A and B to 49 CFR Part 380 list blind-side and sight-side parallel parking as separate range-training units. A registered provider must teach the applicable maneuvers and determine that the trainee is proficient to its documented standard. The same range curricula require providers to teach Get Out And Look, or GOAL, for the backing units.
The broader skills standard in §383.113 requires every CDL applicant to demonstrate basic control for the vehicle class being tested, including straight backing, checking path and clearance, and backing along a curved path. Federal rules establish the floor; states administer the actual skills test. That distinction matters because the exercise names, boundaries, scoring, allowed pull-ups, and observation procedures can vary by state and test model.
Sight-side and blind-side are different views of the same problem
In sight-side parallel parking, the target space is primarily on the driver's side. The driver usually has a clearer view down the vehicle side and can judge the rear path more directly through the left mirror and window. That visibility can make the maneuver easier to interpret, but it does not eliminate the passenger-side blind area or the need to scan both sides.
In blind-side parallel parking, the target is primarily on the passenger side. The driver relies more heavily on the right mirror, convex mirror, deliberate pauses, and GOAL. As the vehicle angle changes, the destination and boundary may disappear from view. The steering principles remain related, but the available information is reduced, so speed should be lower and verification more frequent.
Build the maneuver before selecting reverse
A successful park begins with the approach. Identify the space, entry side, front and rear boundaries, traffic exposure, overhead clearance, surface condition, and room for the tractor or front of a straight truck to swing. On a range, learn exactly which cones or lines define the exercise. At a job site, confirm the space is long and wide enough for the complete vehicle and that no person, dock equipment, low branch, utility, curb, or parked vehicle is hidden.
Then establish the starting position taught for that vehicle and layout. Align the unit consistently, leave the specified lateral space, straighten the steer tires, and stop at the intended reference. If the starting picture changes, do not force the same memorized sequence. Reset while the vehicle is still easy to control.
Clear the path and make GOAL a normal step
Before moving, account for the entire backing area. Adjust the seat and mirrors, clean glass and camera lenses, silence distractions, and confirm any spotter's signals and stop signal. A spotter supports the driver but does not take responsibility for vehicle movement. Stop immediately if the spotter disappears from view or an instruction is unclear.
Use GOAL whenever the destination, rear corner, wheel path, clearance, or a person cannot be positively located. Stop completely, secure the vehicle as instructed, exit with three points of contact, and inspect from a safe position. State testing rules may specify when and how an applicant can exit, so practice the official procedure before test day. In daily work, there is no scoring penalty worth trading for a preventable contact.
Move slowly enough to read the vehicle
Select reverse only after the area is clear. Use the clutch, idle control, service brake, or transmission mode exactly as a qualified instructor teaches for the equipment. Keep the pace at a slow walk or less. Low speed creates time to notice angle changes and stop before a tire, bumper, trailer corner, or body panel reaches a boundary.
Scan both flat mirrors and use convex mirrors for wider awareness. Look for the relationship between the vehicle side, rear corner, tire path, and parking boundary rather than staring at one cone. Cameras and proximity sensors may add information when installed, but they do not replace mirrors, direct observation, or GOAL. Train with the systems that will actually be available in the test vehicle.
Create the angle, then recover it deliberately
The first steering phase sends the rear of the vehicle toward the space. Once the rear is entering at the useful angle, the driver must begin recovering the steering so the front follows without crossing the outer boundary. Waiting too long produces excessive angle and a hard recovery; unwinding too early leaves the vehicle outside the space.
Use small, measured inputs and watch for a response before adding more. A tractor-trailer continues reacting through the articulation point, so the trailer may keep changing direction after the steering wheel starts returning. A straight truck reacts as one rigid unit. Reference points can help in a specific vehicle, but they are training aids—not universal federal rules. Understand what each reference represents and re-evaluate it when the seat, mirrors, wheelbase, trailer length, or cone layout changes.
Control the front swing as carefully as the rear
Students often focus on the rear corner and forget that the tractor nose or front of a straight truck is sweeping the opposite direction. That area may contain a cone on the test range, another vehicle in a yard, or live traffic at a curb. Include the front swing in every mirror scan and stop if the available clearance becomes uncertain.
As the unit enters the space, reduce the angle in stages rather than waiting for one dramatic correction. The goal is to finish nearly parallel with usable clearance on all sides, not merely to place the rear inside. If the vehicle is entering too shallow, too deep, or off-center, a controlled pull-up is usually safer than a rushed correction.
Avoid the errors that compound quickly
Common problems include beginning from an inconsistent setup, backing too fast, fixating on one mirror, making large corrections, holding a correction too long, failing to unwind, and steering while the vehicle is stopped without a clear reason. Another is trying to rescue a bad angle because the student believes a pull-up or GOAL looks weak. Those tools exist to prevent contact and recover information.
Do not copy an online steering formula without matching the vehicle and course. A sequence built around a day cab and short trailer may fail in a sleeper tractor with a 53-foot trailer; a school bus or box truck has different tracking and overhang. Use the current state manual and your instructor's vehicle-specific reference points, then connect each step to the rear path you can see.
Practice in phases instead of repeating full attempts
First practice only the approach and starting position until it is consistent. Next create the initial angle and stop before the space, then GOAL and explain where the rear will travel. Add the recovery phase, front-swing checks, and final straightening after those decisions are reliable. Finally, run the complete maneuver from both sides while varying the starting error slightly so you learn to diagnose rather than recite.
Use your state's current manual as the test-day authority
FMCSA states that each state develops its CDL tests within federal minimum standards and that applicants should use their state's manual to prepare. Download the newest edition and confirm the basic-control format, maneuver names, boundary definitions, allowed observations, pull-up rules, encroachment scoring, time expectations, and examiner instructions. Verify the procedure with the testing location if the state is changing formats.
On test day, listen to the complete briefing and ask the examiner to repeat an instruction you did not hear. Check the vehicle and mirrors before the test begins, identify the boundaries, and never trade safety for speed. The examiner is evaluating controlled performance in a representative vehicle, not how quickly you can imitate a video from another jurisdiction.
Connect online theory with registered behind-the-wheel training
Online ELDT theory can prepare a student to understand vehicle control, visual search, communication, backing concepts, space management, and safe decision-making. It cannot replace range instruction. The sight-side and blind-side parallel-parking units are behind-the-wheel requirements that must be taught and assessed by an eligible provider in the appropriate vehicle.
CDL Compass offers online Class A and Class B ELDT theory for the knowledge portion of the pathway. Coordinate the course with a Training Provider Registry-listed behind-the-wheel provider, then practice until you can explain the vehicle's angle, clearance, and next movement at every pause. A reliable parallel park is not a magic sequence—it is a series of slow, informed decisions that keep the complete vehicle under control.