CDL Straight-Line Backing in 2026: Setup, Mirrors, and Small Corrections
Learn a repeatable straight-line backing routine for Class A and Class B vehicles, including setup, mirror scanning, GOAL checks, and controlled steering corrections.
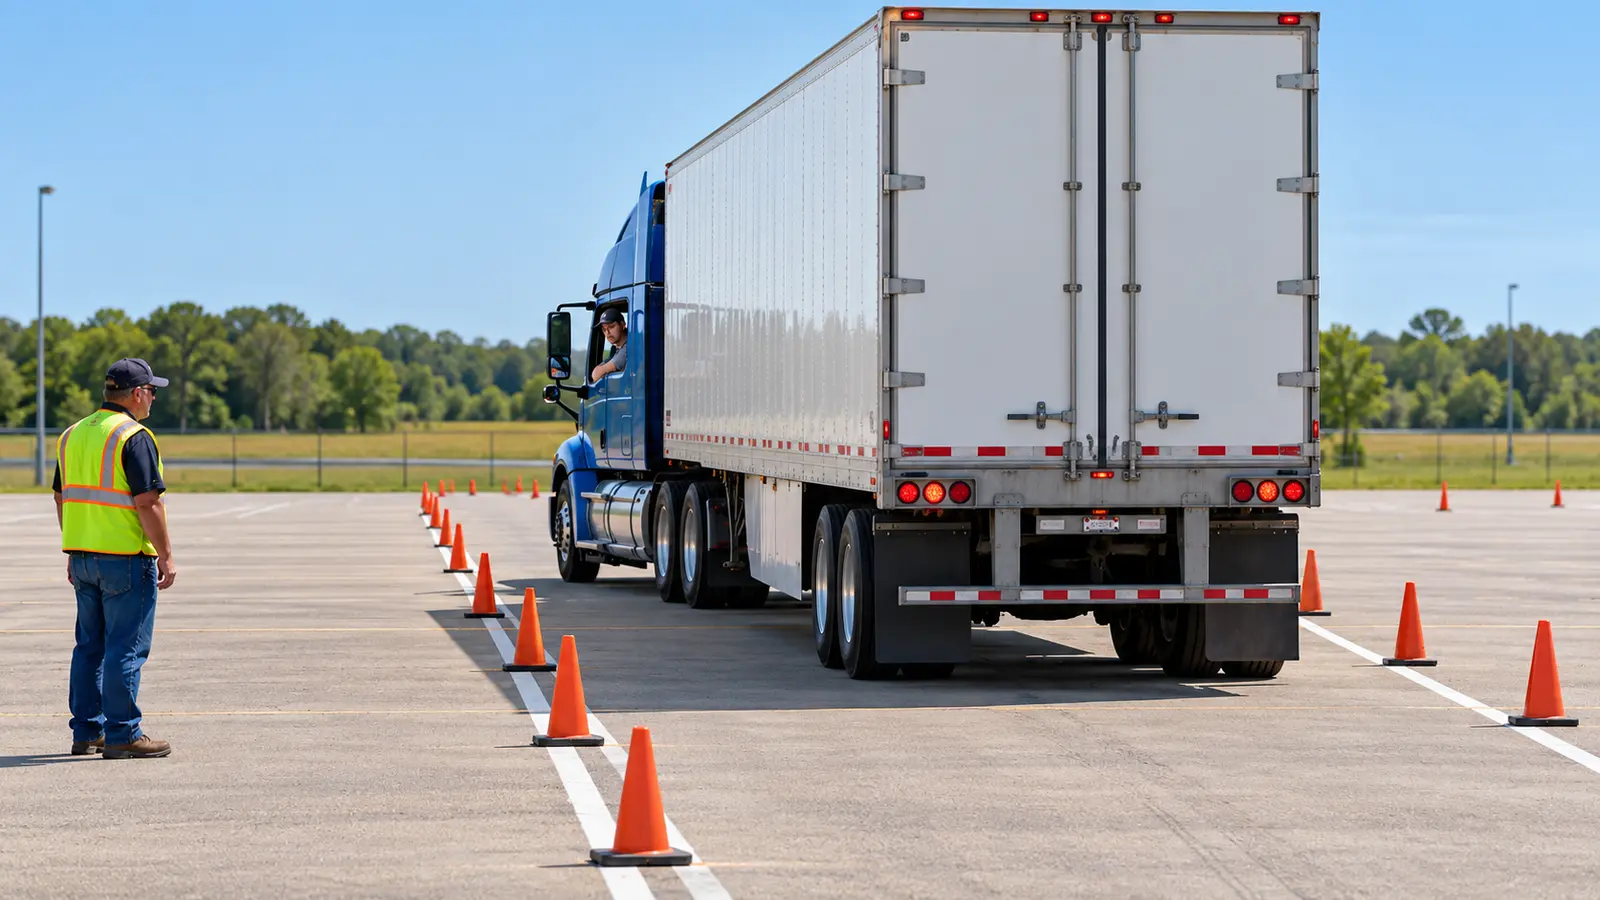
Straight-line backing looks simple because the destination is directly behind the vehicle. In practice, it reveals whether a CDL trainee can set up square, control speed, interpret both mirrors, detect drift early, and make a correction without creating a larger problem. Those habits become the foundation for offset backing, alley docking, loading docks, parking spaces, and safe yard work.
The goal is not to memorize one steering trick. It is to build a repeatable process that works with the vehicle you actually drive. Start aligned, move at a crawl, scan continuously, correct in small amounts, and stop whenever the path is uncertain. Accuracy grows from control—not from trying to finish quickly.
What the federal CDL standard requires
Under 49 CFR §383.113, every CDL applicant must demonstrate the ability to back the motor vehicle in a straight line and check the path and clearance while backing. The Class A and Class B ELDT curricula add a proficiency requirement for straight-line backing during behind-the-wheel range training. They also require instruction in GOAL—Get Out And Look—for the basic backing exercises.
Federal rules establish the skill, but they do not create one nationwide cone layout, boundary width, pull-up allowance, or point schedule. States administer CDL skills tests and publish their own manuals and instructions. Use the current manual for your licensing state and follow the examiner's briefing at the test site. A video from another state may teach useful control, but it is not your scoring authority.
Begin with a square setup
A straight result begins before reverse gear. Position the vehicle parallel to the lane or intended path, center it between the boundaries, and bring the tractor and trailer—or the body of a straight truck—into alignment. Straighten the steer tires before backing. If the starting angle is wrong, the driver may spend the entire exercise chasing a problem created during setup.
Pause and identify the stopping point, lane edges, overhead and side clearances, fixed objects, pedestrians, and escape space. Check that doors and cargo are secure and that no cone, curb, dock hardware, or low obstruction is hidden in a blind area. On a work site, confirm that the destination can actually accept the full vehicle. Never assume a spotter or dock worker has already cleared the path.
Prepare the cab and both mirrors
Adjust the seat first so you can operate every control smoothly while keeping stable posture. Then set both flat mirrors to show the vehicle sides and the lane behind without forcing you to lean continuously. Convex mirrors add a wider view, but objects appear smaller and farther away; use them for awareness rather than precise distance judgment.
Clean the glass, mirrors, and camera lenses before practice. Keep the window area clear and silence distractions. Cameras and proximity sensors can support awareness when installed, but they do not replace direct observations, mirrors, or GOAL. Train with the equipment that will be available in the test vehicle, and know how weather, darkness, glare, and a dirty lens can change what it shows.
Use the slowest controlled movement
Select reverse only after the area is clear. Release the parking brake according to the vehicle procedure and let the unit move at a walking pace or slower. Use the clutch, service brake, idle control, or transmission mode exactly as your qualified instructor teaches for that equipment. There is no safe universal pedal formula for every manual, automated manual, automatic, air-brake, or hydraulic-brake vehicle.
Low speed gives you time to see a change before it becomes a boundary problem. It also reduces the severity of contact if something unexpected enters the area. Never use acceleration to rescue a poor setup or rush because another vehicle is waiting. If control becomes abrupt, stop, secure the vehicle as required, breathe, and restart the sequence deliberately.
Scan both sides instead of staring at one mirror
Alternate between the left and right mirrors in a steady rhythm. On a combination vehicle, compare the amount of trailer visible on each side and watch how the rear corners track relative to the lane. On a straight truck or bus, compare body-to-boundary spacing and confirm that the rear follows the front. Include quick checks for the path, clearance, people, and changing hazards—not only tire position.
Fixating on one side can hide drift on the other or miss a person entering the backing area. A mirror does not show every zone, and the blind area changes as the vehicle moves. If one side disappears, a landmark becomes ambiguous, or you cannot account for a person, stop. Uncertainty is a reason to verify, not a reason to keep rolling slowly and hope.
Make small corrections and unwind early
When the rear begins drifting, correct while the error is small. Move the steering wheel a limited amount, watch for the vehicle's response, and return toward center as alignment improves. Holding a correction too long sends the vehicle across the lane and creates an opposite correction. Large left-right swings are usually a sign that the driver reacted late or failed to unwind.
A tractor-trailer and a straight truck respond differently. With a combination vehicle, the tractor steers the trailer through the articulation point, and the response can continue after the driver begins to straighten. A straight truck's front and rear remain on one rigid frame. Learn the timing from a qualified behind-the-wheel instructor; do not copy hand motions without understanding what the unit is doing.
GOAL before doubt becomes contact
Get Out And Look is a planned safety tool. Stop completely, place the transmission and parking controls as instructed, secure the vehicle against unintended movement, and exit using three points of contact. Walk only where it is safe, inspect the rear destination, both sides, tire path, height, and any object that was hidden from the cab, then return without crossing an active vehicle path unnecessarily.
Use GOAL whenever clearance is uncertain, the reference point changed, someone moved, or the lane no longer looks symmetrical. Work-site rules and state testing rules may define how exits or observations are handled, so confirm those procedures beforehand. In real operations, no schedule justifies backing blind. A short inspection is cheaper than a preventable collision.
Know the state test before test day
Read the newest CDL manual from your licensing state, not an undated copy from a training forum. Confirm the basic-control exercises, boundary definitions, encroachment and pull-up rules, GOAL or exit procedures, vehicle requirements, and site instructions. FMCSA directs applicants to their state manual for knowledge and skills-test preparation.
Build proficiency in a simple progression
Begin with the setup and a short reverse, stopping while the vehicle is straight. Extend the distance while verbalizing the mirror scan. Then introduce slight drift with an instructor so you can practice one small correction and timely unwind. Add GOAL decisions, spotter signals, different lighting, and realistic stopping points after the base routine is consistent.
Connect theory to hands-on Class A or Class B training
First-time Class A and Class B applicants subject to ELDT must complete applicable training through providers listed on FMCSA's Training Provider Registry. Online theory can cover vehicle control, visual search, communication, backing principles, and safety decisions. Behind-the-wheel range proficiency, however, must be taught and assessed in person by an eligible provider; an online course alone cannot certify the driving skill.
CDL Compass offers online Class A and Class B ELDT theory that can prepare you for the knowledge side of the process. Coordinate it with a registered behind-the-wheel provider and practice in the vehicle class you plan to test in. Class A candidates need to understand combination-vehicle response, while Class B candidates must master the dimensions and rear tracking of the straight truck, bus, or other representative vehicle.
The bottom line
Straight-line backing is controlled observation in motion. Set up square, straighten the wheels, clear the path, move slowly, scan both mirrors, and correct early with small inputs. Stop and GOAL whenever the picture is incomplete. Those choices matter more than speed or a memorized wheel count.
Use federal requirements as the foundation and your current state manual as the test-day authority. Practice with qualified instruction until you can explain what the vehicle is doing, not merely copy a sequence. When straight-line control becomes calm and repeatable, more complex backing maneuvers become easier—and everyday yard and dock operations become safer.