CDL Air Brake Test in 2026: Leakage, Warning, and Spring-Brake Checks
Learn a safe air-brake inspection sequence for CDL training, including leakage limits, low-pressure warnings, spring-brake activation, pressure buildup, and operational checks.
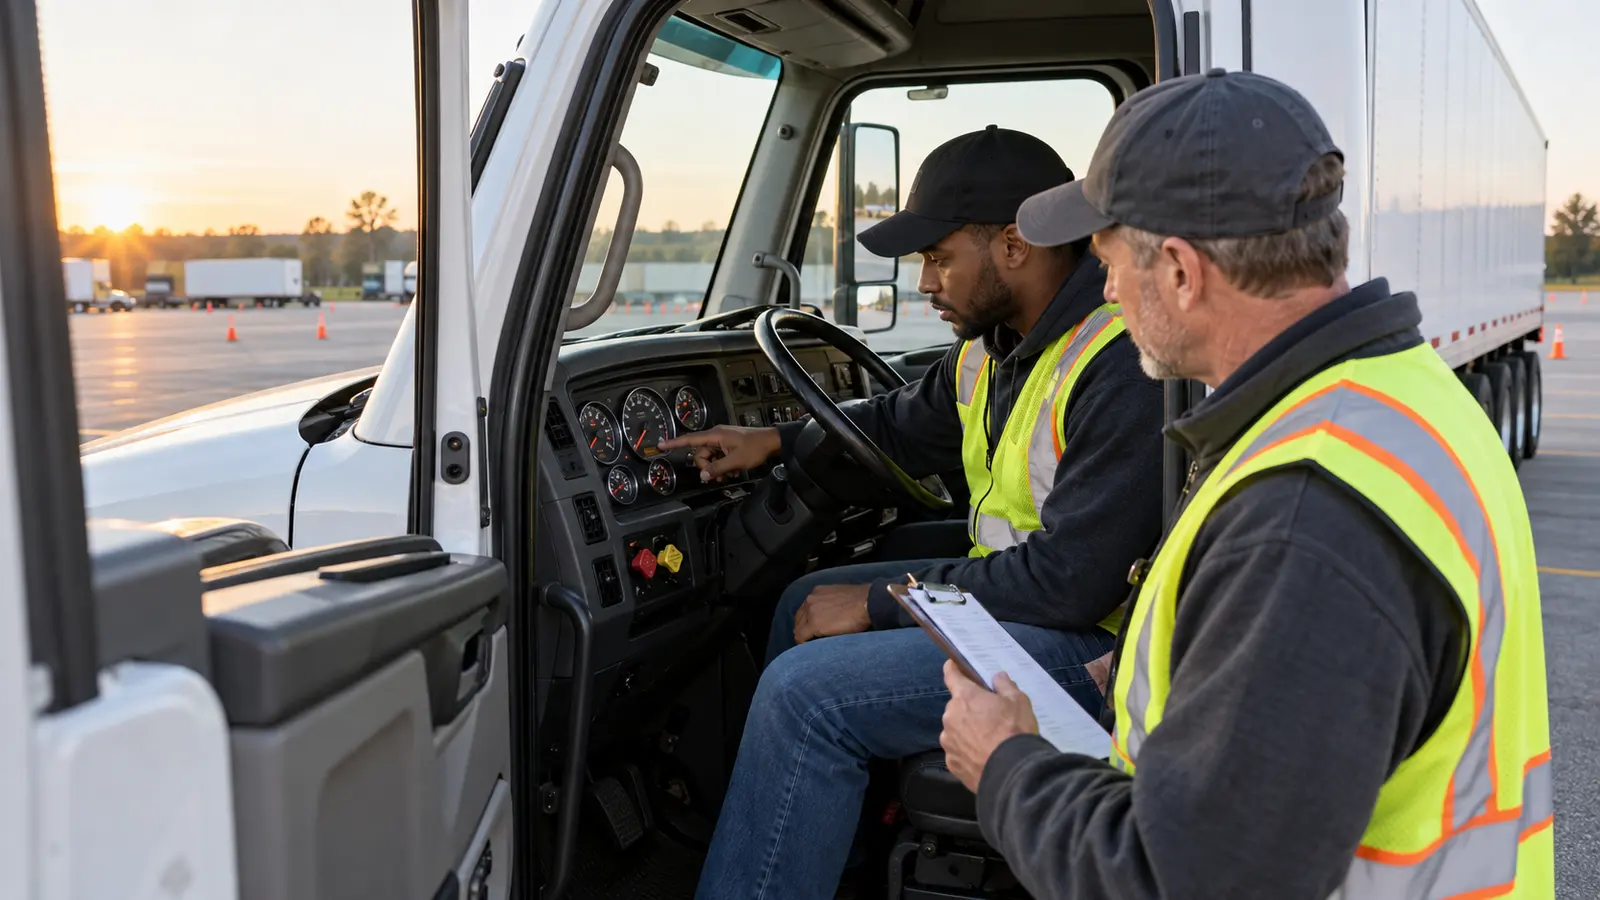
The air-brake inspection is one of the most technical parts of CDL preparation because the driver must understand the system, operate the controls in a safe order, watch both pressure gauges, and explain each result. Memorizing a list without understanding the vehicle can lead to a missed warning, an uncontrolled roll, or a failed inspection exercise.
Federal standards require applicants testing in an air-brake-equipped vehicle to identify the controls and monitoring devices, evaluate system condition and connections, verify the low-pressure warning, confirm adequate air supply and pressure buildup, and check brake performance. States administer the CDL test, so the sequence can vary. Use the current manual for the State where you will test.
Why the air-brake test affects your CDL
Under 49 CFR §383.95, an applicant who fails the air-brake knowledge component or takes the skills test in a vehicle without air brakes must receive a restriction against operating air-brake-equipped CMVs. Testing in an air-over-hydraulic vehicle can produce a full-air-brake restriction. The equipment selected for the test therefore matters as much as the class of vehicle.
The air-brake check also reflects a real pre-trip responsibility. Low pressure, excessive leakage, damaged hoses, an inoperative warning device, or a parking brake that will not hold can become a serious road hazard. The purpose is not to perform a mechanic's repair. It is to recognize whether the vehicle is safe to move and to stop the inspection when a result is outside the permitted range.
Secure the vehicle before changing air pressure
Begin on level ground in a location approved by the instructor or examiner. Set the parking brake, place the transmission in neutral, and follow the State manual's wheel-chock procedure before releasing spring brakes for a leakage test. Keep the area clear and know which controls apply the tractor parking brake and trailer air supply.
Do not copy a routine from a different truck without checking the vehicle. Dash layouts and manufacturer specifications differ. Before starting, identify the primary and secondary gauges, low-air warning, parking-brake control, trailer-supply control if present, service-brake pedal, and ABS indicators. Announce each action, read the gauge, and state the result.
Check the gauges, compressor, and governor
Build the air system to the normal operating range and observe both sides of a dual system. The Pennsylvania CDL manual describes governor cut-out at about 125 psi and cut-in at about 100 psi, but directs drivers to use the manufacturer's specifications. At cut-out, the gauge should stop rising. After controlled brake applications lower pressure, the compressor should begin rebuilding at cut-in.
The same manual gives a typical dual-system buildup check of 85 to 100 psi within 45 seconds at operating rpm, while recognizing that larger tanks may differ. Treat these numbers as a preparation reference, not permission to override the vehicle specification or examiner's procedure. If pressure builds too slowly, do not continue toward road operation.
Measure static and applied leakage separately
For the static leakage check described in Pennsylvania's manual, fully charge the system, shut off the engine, release the parking brakes with the vehicle secured, and observe pressure loss. The stated maximum is less than 2 psi in one minute for a single vehicle and less than 3 psi in one minute for a combination vehicle. Listen for escaping air while keeping hands and clothing away from moving components.
The applied leakage check adds a firm service-brake application after the initial pressure drop. The manual identifies excessive loss as more than 3 psi in one minute for a single vehicle or more than 4 psi for a combination vehicle. Some State testing scripts combine, time, or verbalize these checks differently. Learn the exact State sequence, hold the pedal steadily, watch the correct gauge, and never invent a passing number when the vehicle exceeds the limit.
Verify the low-pressure warning before pressure is too low
With electrical power on and the engine off as directed, reduce air pressure through controlled brake-pedal applications. The visual and audible low-pressure warning must activate before pressure falls below the applicable threshold. The Pennsylvania manual uses 60 psi for the training check, while 49 CFR §393.51 specifies the warning requirements that apply to the vehicle's design and manufacture.
State the pressure at which the warning activates and confirm both the light and audible device when the vehicle uses both. Do not continue pumping blindly while looking away from the gauges. If the warning fails, the driver may not receive timely notice that available braking pressure is disappearing. That is a defect requiring correction, not a step to repeat until it appears to pass.
Confirm automatic spring-brake activation
Continue reducing pressure only under the approved test procedure and with the vehicle secured. The parking-brake valve on a single vehicle, and normally the parking-brake and tractor-protection controls on a tractor-trailer, should pop out at the manufacturer's specified range. Pennsylvania's manual describes a typical range of 20 to 40 psi. The spring brakes apply because air pressure is no longer holding the powerful springs back.
Watch the gauges and controls without placing a hand over a valve that may move. Announce the activation pressure and which valves changed position. A control that fails to pop, activates outside the specified range, or behaves differently from the training vehicle's documented procedure needs instructor or maintenance review. Never rely on automatic spring-brake application as an ordinary method of stopping on the road.
Test the parking and service brakes at low speed
After rebuilding normal pressure and completing the stationary checks, test the parking brake according to the vehicle and State procedure. With the parking brake applied, gently pull against it in the appropriate low gear to verify that it holds. Do not use high throttle or a forceful tug that could damage equipment or defeat the purpose of the check.
For the service-brake check, release the parking brake when safe, move forward slowly—Pennsylvania's manual uses about 5 mph—and apply the service brake firmly. The vehicle should stop without pulling to one side, unusual delay, or an abnormal pedal feel. On a combination vehicle, follow the State manual for any separate trailer-brake or tractor-protection test. Finish by securing the vehicle again.
Do not confuse an inspection with a repair
The driver should inspect accessible hoses, chambers, drums or discs, linings, pushrods, and slack adjusters as the vehicle design and training procedure allow. Look for cuts, rubbing, loose or contaminated friction material, missing hardware, cracks, and audible leaks. Modern automatic slack adjusters still require inspection, but routine manual adjustment can hide a mechanical defect and should be handled under proper maintenance procedures.
A failed result is information. Record the condition, keep the vehicle out of service when required, and report it through the carrier or school's defect process. Do not tighten, block, tape, or alter a safety component merely to make a test number appear acceptable. A CDL candidate is expected to demonstrate judgment as well as vocabulary.
Avoid the most common training mistakes
Students often lose the sequence by rushing, skip vehicle securement, read only one needle on a dual gauge, forget to release the parking brakes for the leakage check, release the service pedal during the applied test, or confuse the low-air warning with spring-brake pop-out. Another error is reciting numbers without stating whether the vehicle passed.
Practice in short blocks. Identify every control, rehearse the secure setup, and perform one check at a time while an instructor verifies the reading. Finally, complete the sequence without prompts. Learn the logic: charge, secure, isolate, measure, warn, protect, rebuild, and test operation.
Build air-brake knowledge before test day
Class A and Class B ELDT curricula require instruction in vehicle controls, braking systems, inspections, malfunction recognition, and safe operation. Theory training should help you understand why pressure changes; behind-the-wheel instruction must make the sequence familiar in a real CMV. Ask your hands-on provider which State testing standard it teaches and whether your practice vehicle matches the one scheduled for the skills test.
Start with the CDL Compass Class A or Class B ELDT theory course, then practice under a qualified instructor in properly maintained equipment. Review the current State CDL manual immediately before the appointment because testing procedures can change. On test day, work slowly enough to protect the vehicle, communicate each result clearly, and stop whenever the system shows an unsafe condition.