CDL Class A Coupling and Uncoupling in 2026: A Safety-First Training Guide
Learn a safe tractor-semitrailer coupling and uncoupling sequence, the fifth-wheel checks that prevent a dropped trailer, and how this skill fits Class A ELDT.
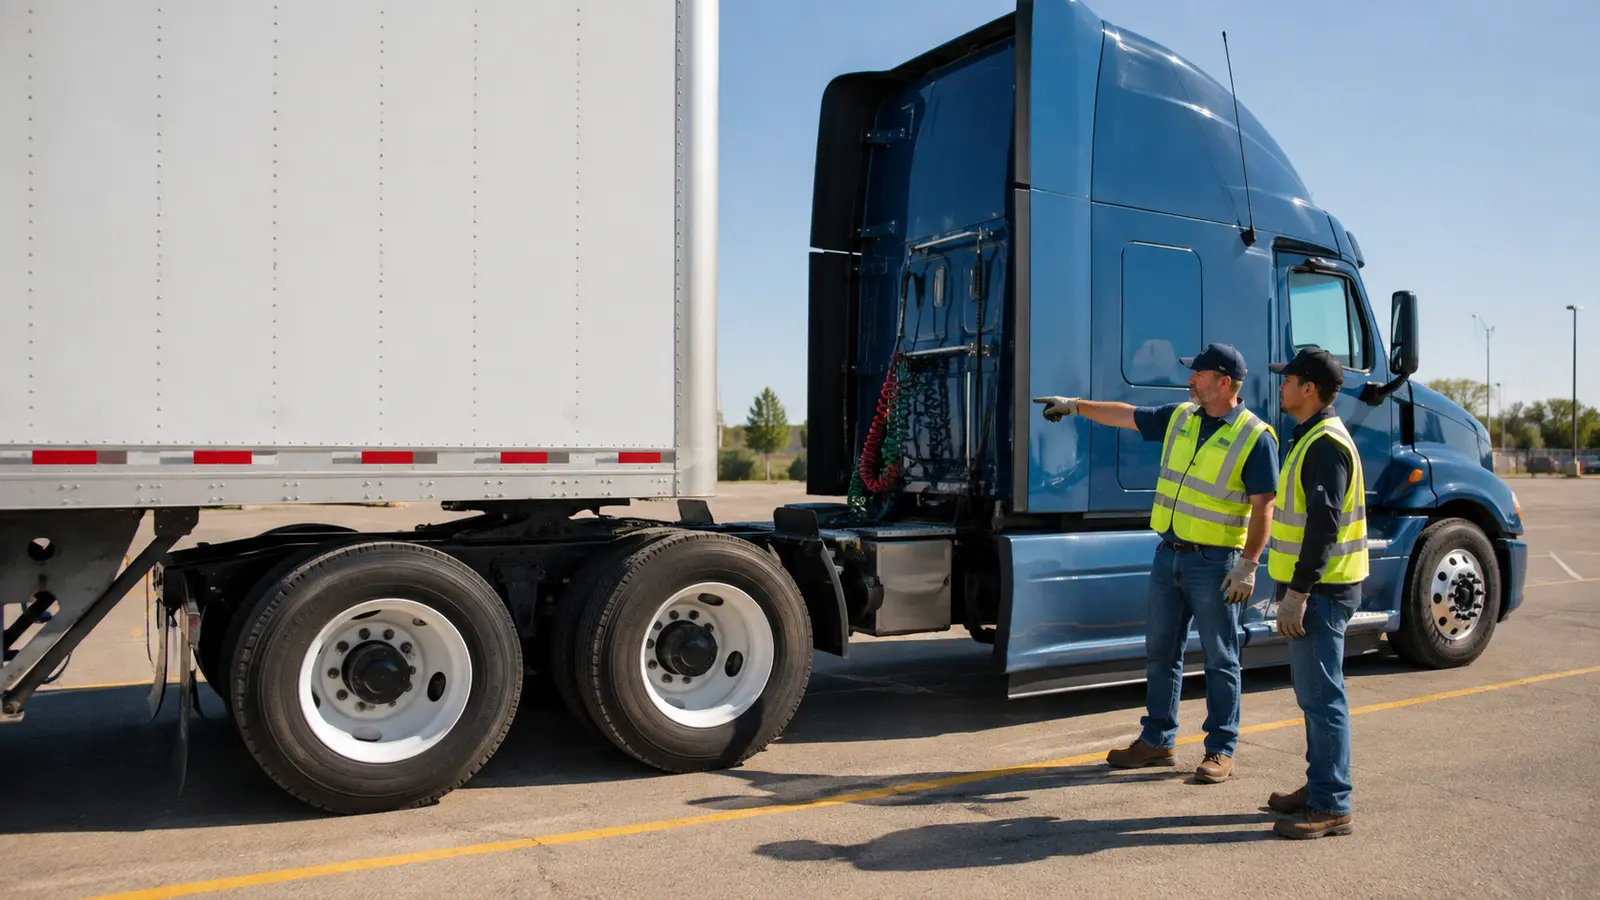
Coupling a tractor to a semitrailer can look routine after a driver has done it hundreds of times. That familiarity is exactly why a deliberate sequence matters. A high trailer, a missed locking jaw, damaged landing gear, or an unsecured air line can turn the first movement into a dropped trailer, equipment damage, or serious injury.
Federal Class A Entry-Level Driver Training includes coupling and uncoupling theory and requires behind-the-wheel trainees to demonstrate proficiency in coupling, inspecting, and uncoupling combination vehicles. This guide is a study framework; hands-on practice must follow the instructor, current State CDL manual, carrier policy, and instructions for the exact equipment.
Why Class A ELDT treats coupling as a complete system
Appendix A to 49 CFR Part 380 places coupling and uncoupling in both the Class A theory curriculum and the behind-the-wheel range curriculum. Federal ELDT sets no universal minimum number of behind-the-wheel hours. The registered provider's instructor must cover every required range topic, document the trainee's hours, and determine proficiency.
The skill connects positioning, backing, air brakes, inspections, electrical lines, landing gear, and clearance. A trainee must understand each step and stop when a condition is unsafe—not merely repeat a list.
Start with the site, trailer, and fifth wheel
Use firm, level ground whenever possible and inspect the space before moving. Keep people and objects out of the path, confirm the trailer wheels are chocked or the spring brakes are applied, and make sure cargo cannot shift when the tractor contacts the trailer. Approach with the tractor centered and square to the trailer. Backing under at an angle can push the trailer sideways and damage or collapse landing gear.
Before contact, inspect the fifth-wheel mounting, plate, locking mechanism, release handle, and sliding-fifth-wheel locks when equipped. Look for missing or damaged parts, cracks, loose mounting, contamination, or inadequate lubrication. Check the trailer apron and kingpin for damage. The fifth-wheel jaws should be open and ready to lock, and the plate should be tilted to receive the trailer according to the equipment procedure.
Back slowly until the fifth wheel just touches the trailer, secure the tractor, and check trailer height. The trailer should be low enough to rise slightly as the tractor moves beneath it. If it is too low, the tractor can strike the trailer nose; if it is too high, the kingpin can ride over or sit on top of the closed jaws and create a false coupling.
Connect and test the air system before final coupling
The general CDL-manual sequence connects the emergency or supply line and service line after the tractor is positioned and the trailer height is correct. Inspect the glad-hand seals, connect each line to its matching glad hand, and support the hoses so they will not be pinched, crushed, or snagged as the tractor backs. Never rely on color alone when a label or equipment condition is unclear.
Supply air to the trailer, allow pressure to reach the normal operating range, and check that the service and emergency functions respond correctly. Listen for brake application and release and watch for significant air loss. Crossed lines or a failed trailer-brake response must be corrected before moving. Once the check is complete, lock the trailer brakes for the coupling maneuver. Exact valves and controls vary, so use the vehicle-specific procedure taught by the instructor.
Back under, lock, and verify three different ways
Use the lowest practical reverse gear and back straight under the trailer at walking speed. Stop when the kingpin locks into the fifth wheel; do not ram the connection. Then perform a gentle tug test with the trailer brakes locked. Raise the landing gear only enough to keep it from carrying the trailer during this check, and gently pull forward to confirm that the trailer remains attached.
A tug test is not a substitute for a visual inspection. Secure the tractor, place the transmission in neutral, apply the parking brakes, shut down as required, and control the key before entering the inspection area. Use a flashlight when needed. There should be no visible gap between the trailer apron and fifth-wheel plate, the jaws must be closed around the shank—not the head—of the kingpin, the release handle must be in the locked position, and the safety latch must be engaged as designed.
Federal equipment rules require every fifth-wheel assembly to have a locking mechanism that prevents separation unless positively released. If the connection looks wrong, the handle has not seated, the jaws are not around the shank, or a gap remains, do not drive. Separate the units safely and repeat the approved sequence or place the equipment out of service for repair.
Finish the coupling instead of stopping at the lock
Connect and secure the electrical cord if that step was not completed earlier. Check all lines for damage, correct connections, enough slack for turns, and clearance from moving parts. A mechanical lock does not make the combination road-ready when lights, brakes, or lines are compromised.
Raise the landing gear fully and secure the crank handle. Check clearances around the tractor frame, landing gear, tires, cab, and trailer nose. Stow wheel chocks only when the sequence calls for it, then complete the combination-vehicle inspection and brake checks before entering traffic.
Use a controlled uncoupling sequence
Park with the tractor and trailer aligned on ground capable of supporting the loaded trailer. Secure the trailer against movement, ease pressure off the locking jaws according to the equipment procedure, and chock the wheels when the trailer lacks spring brakes or when there is any doubt. Lower the landing gear until it has firm support. With a loaded trailer, follow the manual and instructor's guidance for transferring some weight without lifting the trailer off the fifth wheel.
Disconnect the air lines and electrical cable, place them in their storage points, and protect connectors from damage and moisture. Unlock the fifth wheel while keeping legs and feet away from the tractor's rear wheels and all pinch zones. Never stand between units that could move, and never go beneath equipment that is not properly secured.
Pull the tractor forward only until the fifth wheel clears the kingpin while the tractor frame remains under the trailer. Stop, secure the tractor, and confirm that the landing gear and ground are supporting the trailer. Only then pull completely clear. This pause provides a last chance to prevent a fall if the landing gear sinks, folds, or was not fully lowered.
Common errors that turn into dangerous failures
The highest-risk shortcuts are coupling to a high trailer, approaching at an angle, trusting the sound of the lock, skipping the visual jaw inspection, driving with landing gear partly raised, and leaving lines where they can stretch or rub through. Do not force a stubborn release while the locking jaws are still loaded.
Protect yourself from movement as carefully as you inspect the hardware. Set brakes, use neutral, control the key, communicate with anyone nearby, and keep clear of crush points. If a spotter is used, agree on signals and stop when visual contact is lost. Never reach into the fifth wheel or stand between units that could move.
Build test-ready skill through deliberate practice
Practice with a qualified instructor: identify components, narrate the sequence, couple at slow speed, inspect the lock, check brakes and clearances, and then uncouple. Ask the instructor to introduce safe defects such as incorrect trailer height, an unsecured line, a fifth-wheel gap, or an unseated release handle. Spotting the problem is part of proficiency.
Use the current manual and test information from the licensing State. On test day, never let memorized cadence override an unsafe condition. Stop, secure the vehicle, explain the problem, and follow the examiner's directions.
CDL Compass provides the online theory portion of Class A ELDT. Applicants must also complete registered behind-the-wheel range and public-road training and pass the State CDL skills test. Pair theory with hands-on practice until the sequence holds up on unfamiliar equipment.